
I've had this idea in my drafts for awhile, but what's put me off is that I know I'm no expert, and there are plenty of other people who can take prettier flatlay photos than me. Still, flatlays are pretty much the only kinds of photos I use and are definitely the style I'm most comfortable with. So I guess I might have some useful tips to offer.
USE A NEUTRAL BACKGROUND
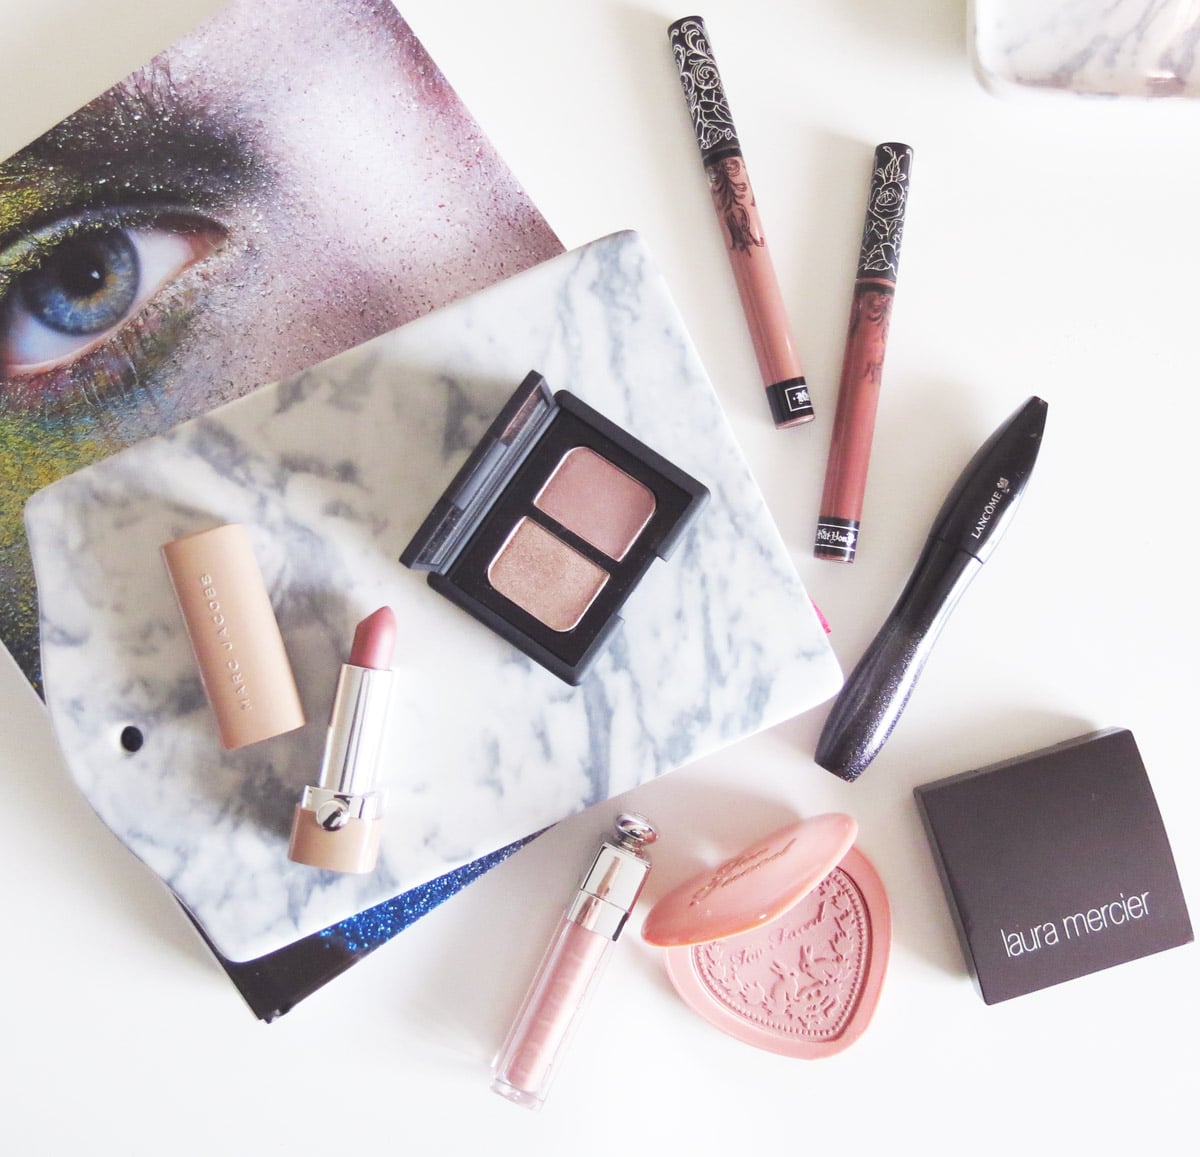
I'll start with the obvious one: most flatlay photos you see on Instagram or on other blogs have some sort of light, neutral background. This allows the products to be the main focus and not clash or blend into the background. I usually use a plain white background, but on my Instagram I sometimes use my white ruffled bedding or white marble. I've found it's super convenient to pick up some white posterboard from a craft store. If marble's your thing, too, you can buy some marble-printed adhesive - I applied this to one side of my white posterboard, so I can flip it depending on if I want a plain white or marble background.
CHASE THE LIGHT
This is the last obvious one, I swear (I hope). I find that you can get the brightest, airy-est photo when using natural light. Find the brightest spot in your house and try taking your photos there. The posterboard mentioned above comes in handy too, as you can move it around the house to find the perfect spot.
MOUNTING PUTTY IS YOUR FRIEND
I don't know how many rolls of Scotch tape I went through before I bought myself some mounting putty. It's perfect for products that tend to roll around, like lipsticks. It'll ensure your subjects stay exactly where you want them.
COORDINATE COLORS
This doesn't always work out if I'm photographing specific products for a blog post, but if I'm just taking a pretty picture for Instagram I'll take the colors of the products/packaging into consideration. I often go for soft pink shades when in doubt (like this photo from last week). It really makes for a more cohesive picture. When selecting props, I'll also take color into consideration (like adding in a book or magazine that includes similar colors, as seen here and here).
KEEP YOUR PROPS NEARBY
I have a little basket I keep most of my props in, and I keep it near where I'm almost always taking my blog photos. It makes it super convenient to pick the most perfect props and switch them out for others as needed. I keep little decorative plates, pretty cards, magazines, and washi tape in mine, for example.
EXPERIMENT WITH DIFFERENT FORMATIONS
When I'm taking my photos, I rearrange them over and over, taking multiple photos of each to make sure I catch the perfect arrangement. Most of my flatlays have the products placed about the frame (seemingly) randomly, so it's important to try out different positions to find the picture with the most aesthetically pleasing flow. You can also experiment with more negative space, or more crowded pictures. Personally, I like to fill up the space in my photos, but I've seen some really stunning ones that use more negative space (like Holly from Bloomin' Rouge).
MIX BEAUTY AND LIFESTYLE PIECES
This is something I'm still experimenting with to find the perfect balance, but I find it can really make the photos more interesting. Choosing a main piece to focus on is key here to not overwhelm the photo, but adding in some books, plants, and clothes can really breathe new life into it.
I really hope these were helpful and not too repetitive. Do you have any flatlay styling tips?