• Home
  • About
    • Makeup
    • Skincare
    • Baby
    • Books
    • Food
    • Music
    • Pregnancy
    • Style
    • Tips
    • Wedding
  • Links
  • Blog
Menu

Beauty by Kelsey

  • Home
  • About
  • Beauty
    • Makeup
    • Skincare
  • Lifestyle
    • Baby
    • Books
    • Food
    • Music
    • Pregnancy
    • Style
    • Tips
    • Wedding
  • Links
  • Blog

beauty, lifestyle, and
a little bit of everything

Shop My Shelf
Follow

No results found

Featured posts:

Featured
October 29, 2024
Things I’m Loving 10.29.24
October 29, 2024
October 29, 2024
October 22, 2024
What Was a Harder Transition: 0-1 or 1-2 Kids?
October 22, 2024
October 22, 2024
October 15, 2024
Things I'm Loving 10.15.24
October 15, 2024
October 15, 2024

INSTAGRAM: @DADMUNK

My handsome boys! Today’s post on the blog is my experience with the transition from 1-2 kids vs the transition from 0-1 - link is in my bio 💙
Do you have 2+ children? What transition was the hardest for you?
Current go-to’s 🤎
I have a new post up on the blog today and have been putting them up every Tuesday if you haven’t caught it in my stories! I’m hoping blogs will make a comeback because I really love writing about all my favorites
Medication and therapy changed my life and helped me be the kind of mom my boys deserve. Check in on your friends and loved ones, and don’t be afraid to ask for help. You are not a burden. Signed, a confident second-time mom who struggled with
What’s the feeling called when you’re exhausted but your heart is so full it could burst? 🤍 #weekenddump

Dr. Jart+ Ceramidin Liquid Review

January 14, 2016 in Skincare

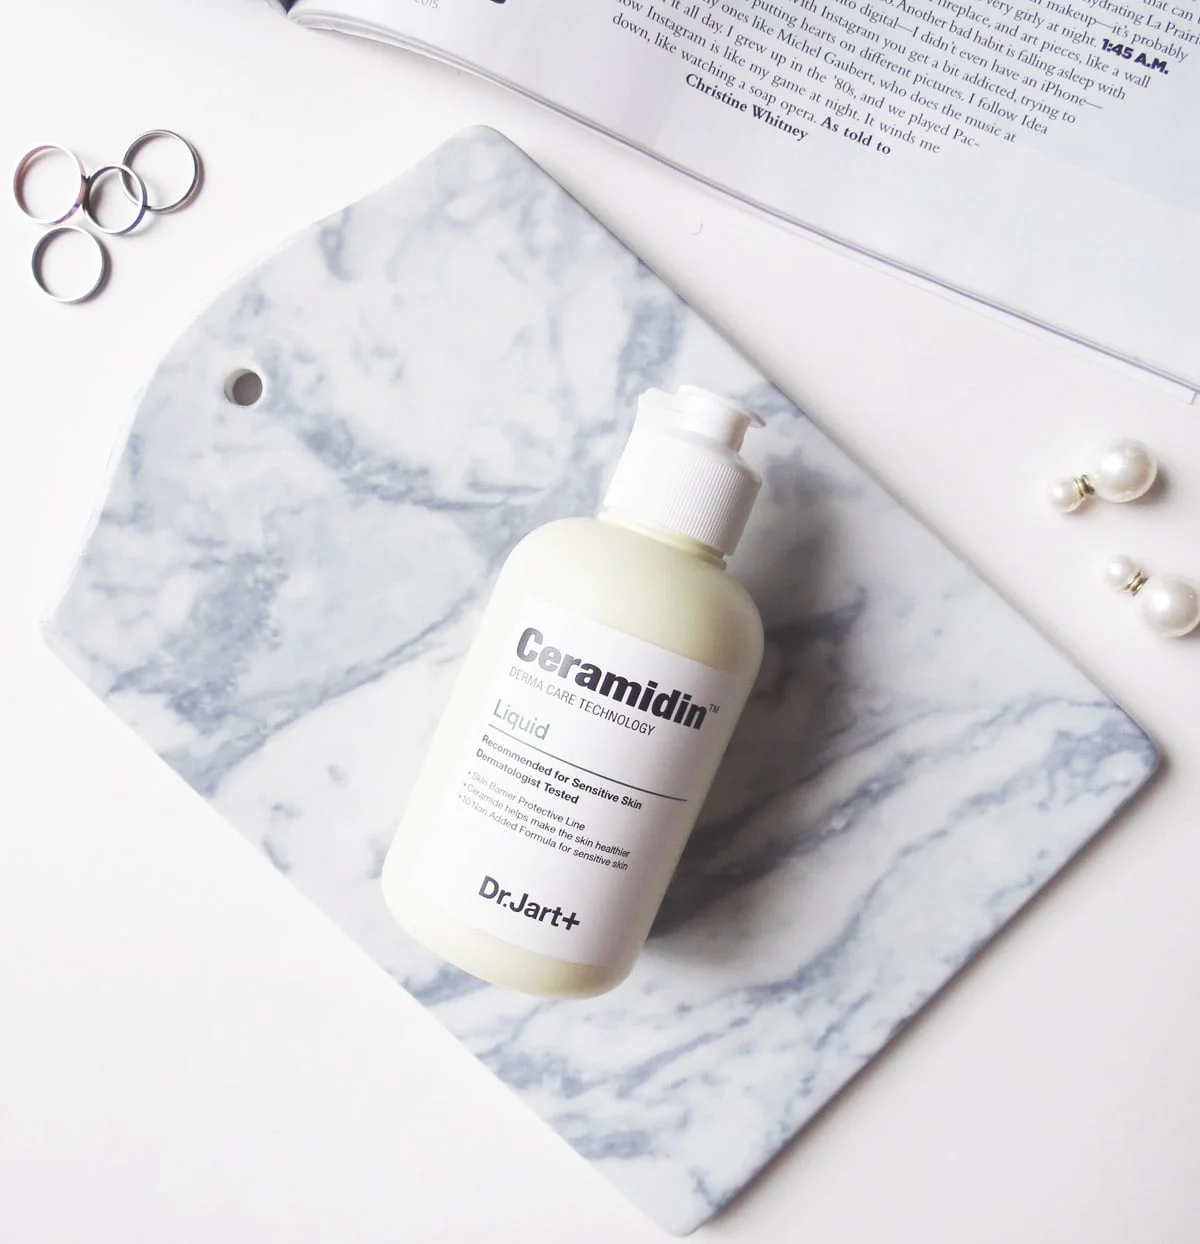
You may have seen (on Instagram) a couple months ago my beloved Vichy Aqualia Thermal Serum ran out, and instead of repurchasing, I decided to pick up the Dr. Jart+ Ceramidin Liquid. A couple factors went into this decision - I had heard ceramides are amazing at relieving dry and dehydrated skin, I'm really into Korean skincare at the moment, and lastly, the bottle holds about five times more product than the Vichy serum and yet only costs $3 more. It was a clear decision in my book.

The Dr. Jart+ Ceramidin Liquid comes from their popular Ceramidin range that includes creams, oils, and lip balms. Ceramides are said to aid in the prevention of water loss in the skin, so slathering on a bit of this every day is guaranteed to leave you with hydrated, glowing skin. I use this every day as the serum step in my morning skincare routine. It's similar in thickness to the Vichy serum, though it's not as slippy on the skin. While it's settling into the skin it does feel slightly tacky, but only for a moment. It really feels like it's sinking into my skin to nourish it, while sometimes it felt like the Vichy serum merely sat on top of the skin's surface. Like the Vichy serum, it also has a scent, but it's a light, clean, almost lemon-y scent that hasn't irritated my skin at all.

After using this pretty much every day for almost two months, I've noticed vast improvements in my skin. The red irritation I was getting from the heating drying my skin out has gone away, and I can go through the whole day without my skin feeling uncomfortably tight. It's left me with perpetually glowing skin (without a speck of grease however) and has really helped solve my dullness problem. 

When I run out of my daytime moisturizer, I'd love to try the Ceramidin Cream next, since my skin is loving the liquid so much.

Have you tried the Dr. Jart+ Ceramidin Liquid?


Follow

The Eyeshadows that Double as Highlighters

January 12, 2016 in Makeup

As you probably know by now, I simply cannot get enough of anything that promises to give my skin a glow. Highlighters are the section of my collection that has grown the most rapidly, and every time a brand comes out with a new one, I have a hard time thinking of anything else (anyone else lusting after the new Anastasia Glow Kits? or how about the new Hourglass Ambient Strobe Powders?) Seeing as I actually have to pay for rent and heat and electricity now, buying every new highlight release isn't exactly doable anymore. To try and get over the unbearable need for a new highlighter, I've been searching through my collection for products that could double as one.

The first one came to me quickly, as I actually bought it with the intention of using it on my cheeks rather than eyes. The Kat Von D Metal Crush Eyeshadow in Thunderstruck (review) is one of the most stunning shadows I own - in the pan it just looks white, but when swatched or worn on the skin it gives off the most beautiful white gold sheen with a unique peachy pink shift. It makes for a really interesting highlight that's something different from your run-of-the-mill golden shades.

The next eyeshadow is a cult classic that I don't know how I never thought to try it as a highlighter. The Stila Eyeshadow in Kitten is one of the most talked about shades from the brand - it's just the perfect champagne shade that really perks up tired eyes. It's beautiful as an inner corner highlight. It's equally beautiful dusted onto the cheekbones. It's quite intense, and a little shimmery, but that's just the way I like my highlight - if you can't see it from space, it's not intense enough!

The last powder eyeshadow of the roundup comes from the Anastasia Beverly Hills Self-Made Palette (review). I've already gone on and on about how much I love the formula of these, and it might be my favorite eyeshadow formula of all. The shade Treasure (second from left in the bottom row) makes for a perfect highlighter, as long as you can fit a brush in the pan - it's like a slightly less intense and peachy-er version of Stila Kitten.

The two cream formulas I have are a little trickier to get used to on the face, but if you get blending quickly they'll be beautiful. The Origins GinZing Brightening Cream Eyeshadow in Sugar Peach was my go-to for such a long time on the eyes. It's a really similar color to Treasure from the Self-Made Palette. This formula is super lightweight so you don't even feel it on the skin, and it blends in quickly. The Bobbi Brown Long Wear Cream Shadow Stick in Golden Pink may be a little dark as a highlight on my skintone but it's gorgeous nonetheless. This has a bit more noticeable shimmer to it once it's blended out, but it really reminds me of MAC's Soft and Gentle. 

Sometimes when I'm really feeling matchy-matchy, I'll throw on one of these shadows on my lids and on my cheeks. Do you have any eyeshadows that make gorgeous highlighters?


Follow

Tips for Taking Flatlay Photos

January 09, 2016 in Blogging

I've had this idea in my drafts for awhile, but what's put me off is that I know I'm no expert, and there are plenty of other people who can take prettier flatlay photos than me. Still, flatlays are pretty much the only kinds of photos I use and are definitely the style I'm most comfortable with. So I guess I might have some useful tips to offer.

USE A NEUTRAL BACKGROUND

I'll start with the obvious one: most flatlay photos you see on Instagram or on other blogs have some sort of light, neutral background. This allows the products to be the main focus and not clash or blend into the background. I usually use a plain white background, but on my Instagram I sometimes use my white ruffled bedding or white marble. I've found it's super convenient to pick up some white posterboard from a craft store. If marble's your thing, too, you can buy some marble-printed adhesive - I applied this to one side of my white posterboard, so I can flip it depending on if I want a plain white or marble background.

CHASE THE LIGHT

This is the last obvious one, I swear (I hope). I find that you can get the brightest, airy-est photo when using natural light. Find the brightest spot in your house and try taking your photos there. The posterboard mentioned above comes in handy too, as you can move it around the house to find the perfect spot.

MOUNTING PUTTY IS YOUR FRIEND

I don't know how many rolls of Scotch tape I went through before I bought myself some mounting putty. It's perfect for products that tend to roll around, like lipsticks. It'll ensure your subjects stay exactly where you want them.

COORDINATE COLORS

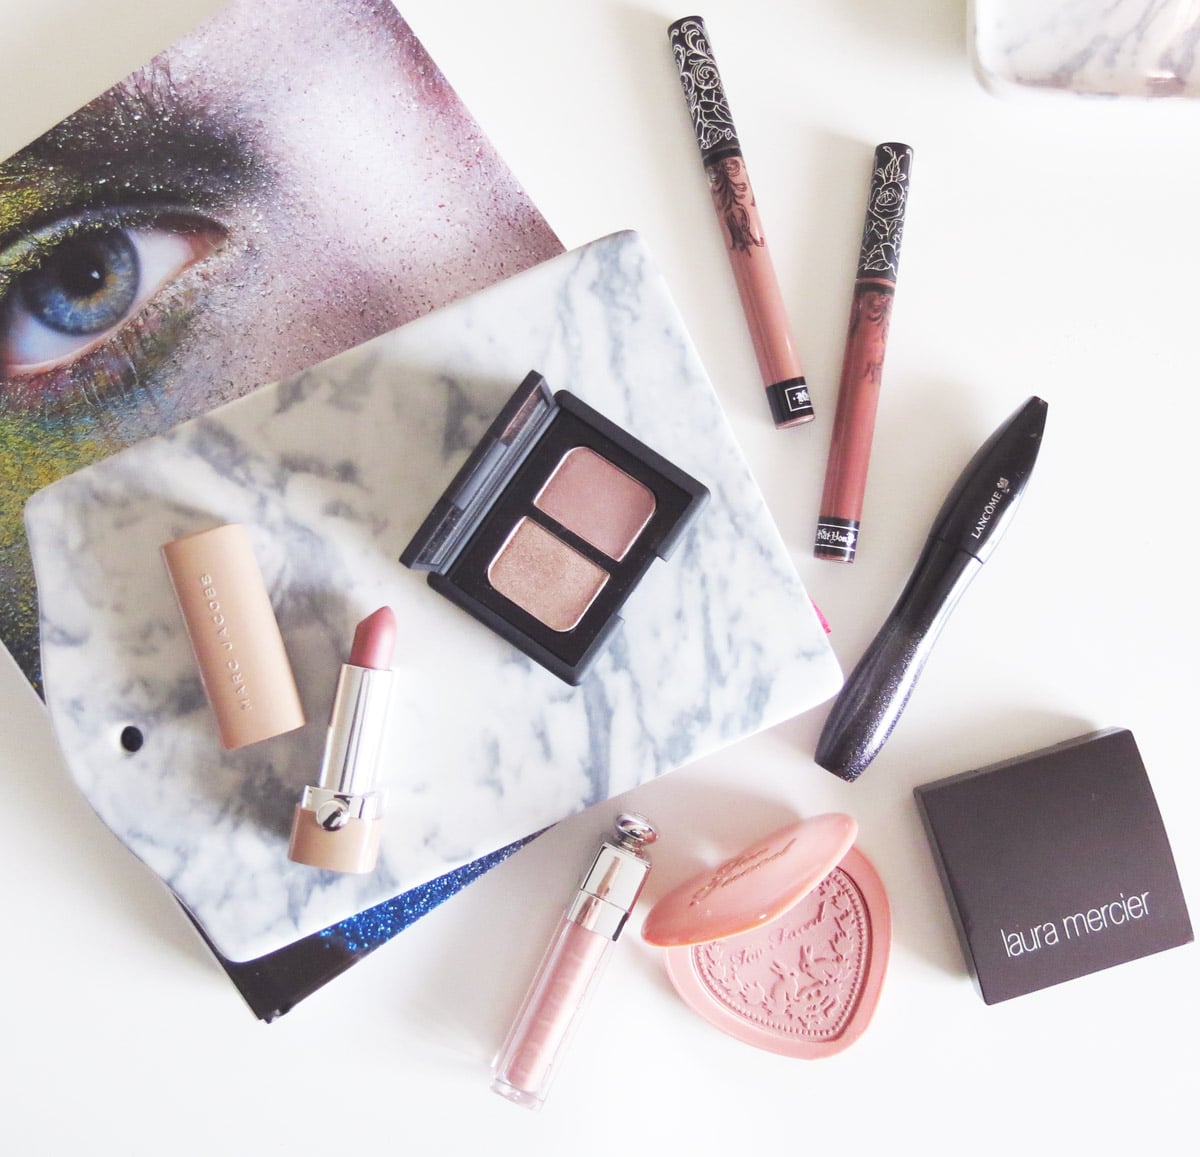
This doesn't always work out if I'm photographing specific products for a blog post, but if I'm just taking a pretty picture for Instagram I'll take the colors of the products/packaging into consideration. I often go for soft pink shades when in doubt (like this photo from last week). It really makes for a more cohesive picture. When selecting props, I'll also take color into consideration (like adding in a book or magazine that includes similar colors, as seen here and here).

KEEP YOUR PROPS NEARBY

I have a little basket I keep most of my props in, and I keep it near where I'm almost always taking my blog photos. It makes it super convenient to pick the most perfect props and switch them out for others as needed. I keep little decorative plates, pretty cards, magazines, and washi tape in mine, for example.

EXPERIMENT WITH DIFFERENT FORMATIONS

When I'm taking my photos, I rearrange them over and over, taking multiple photos of each to make sure I catch the perfect arrangement. Most of my flatlays have the products placed about the frame (seemingly) randomly, so it's important to try out different positions to find the picture with the most aesthetically pleasing flow. You can also experiment with more negative space, or more crowded pictures. Personally, I like to fill up the space in my photos, but I've seen some really stunning ones that use more negative space (like Holly from Bloomin' Rouge).

MIX BEAUTY AND LIFESTYLE PIECES

This is something I'm still experimenting with to find the perfect balance, but I find it can really make the photos more interesting. Choosing a main piece to focus on is key here to not overwhelm the photo, but adding in some books, plants, and clothes can really breathe new life into it.

I really hope these were helpful and not too repetitive. Do you have any flatlay styling tips?


Follow
Newer / Older
Back to Top

email: kdadmun92@gmail.com
copyright © 2020 Beauty by Kelsey